Dualboot encrypted Windows and Ubuntu
Configure and install Truecrypt for Windows
Enough background information for now, let’s start with the installation. The case is to install a brand new Windows 7 system first and encrypt it with Truecrypt. During the Windows setup, I will remove the 100 MB Windows partition to minimize the amount of partitions. After that I continue to install Truecrypt and configure system encryption.
Windows setup
First, I’m starting to install Windows. I won’t describe the whole installation, only the parts that matters. During the installation process, make sure that Windows creates only one NTFS partition and there is enough free space left for the Ubuntu installation. I have a 40 GB harddrive and use 20 GB for Windows and 20 GB for Ubuntu. I will describe the Windows 7 partitioning process. Goal for the partitioning is to install Windows on one partition only, and don’t use the 100 MB system partition. This makes multiboot easier. Note that you have enough capacity left for Ubuntu. Click the images for a larger view.
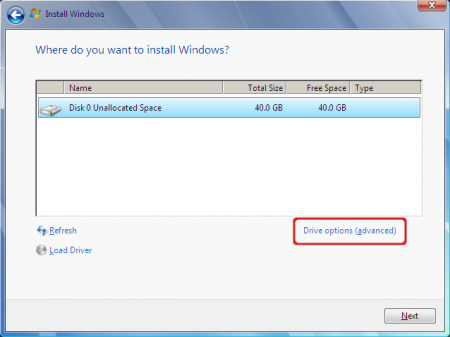
During the setup process, use the partitioning tool to repartition the device. Click ‘Drive options (advanced)’.
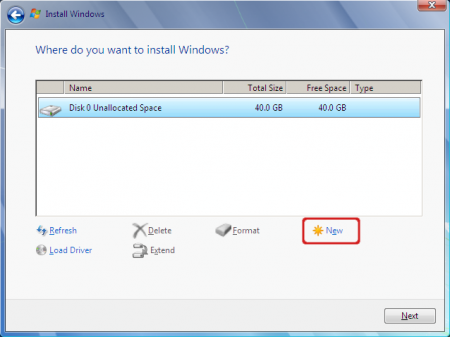
In my example I started with an empty disk. If you have one or more existing partitions, delete all of them until all the space is unallocated. Then click ‘New’.
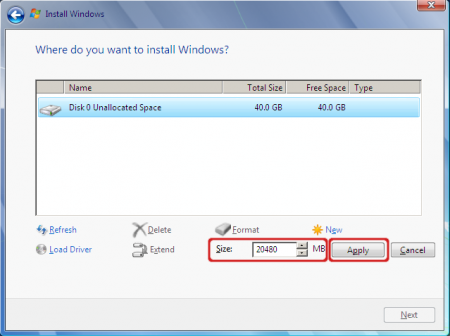
Select the size for the new Windows partition. Remind that you have enough capacity left for the Ubuntu installation. Click ‘Apply’ to confirm the creation of the partition.
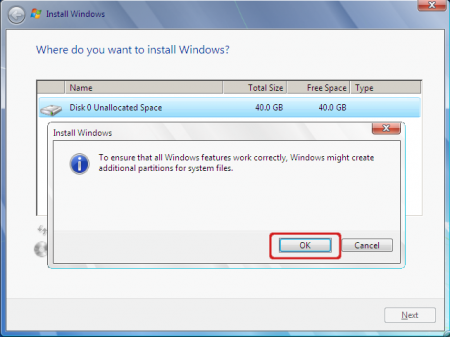
The setup process warns that additional partitions for system files can be created. Please confirm.
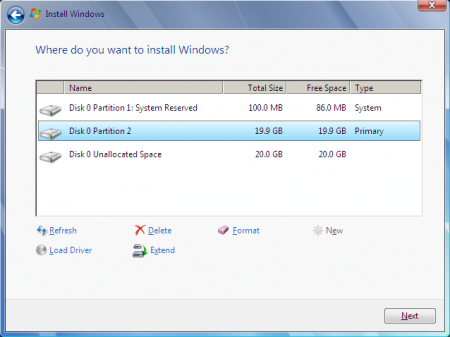
Two partitions are created. A 100 MB system partition and a 19,9 GB primary partition. There is still 20 GB of capacity left for other purposes.
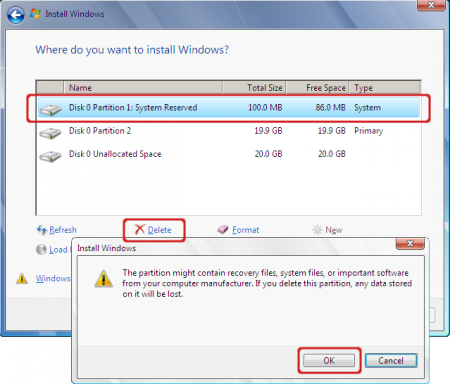
Now remove the 100 MB system partition. Select it, click ‘Delete’ and confirm that you would like to delete it.
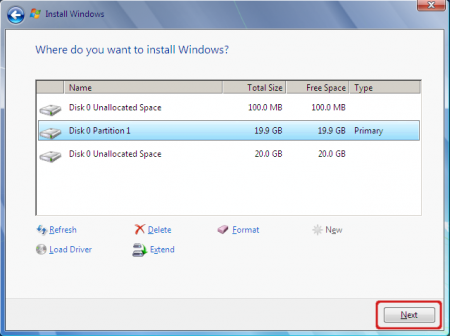
There is only one partition left for Windows. Click ‘Next’ to continue the installation. All system files are now installed to the main primary partition.
The setup process continues. When finished the installation you can install windows updates, service packs and other software like a virus scanner.
Install Truecrypt software on Windows
Now you have to install Truecrypt to make system encryption available. You can download Truecrypt here. Installation does not automatically enable system encryption, installation is the first step.
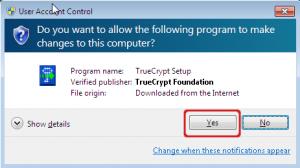
Start the Truecrypt setup process. Windows User account Control does request you to confirm the installation.
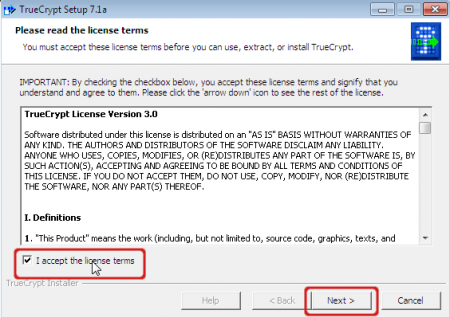
Accept the license terms and click ‘Next’.
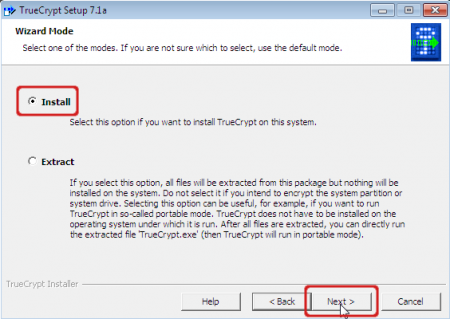
Choose ‘Install’ and click ‘Next’.
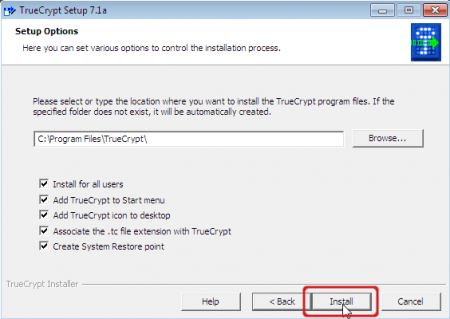
There’s no need to modify these default settings. Click ‘Install’.
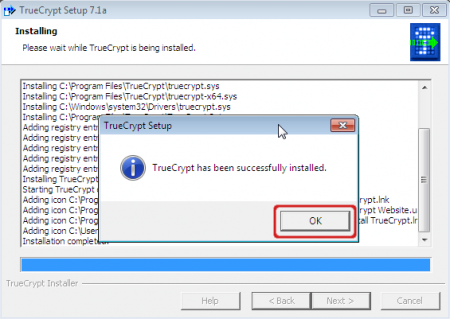
If all goes well Truecrypt is installed now.
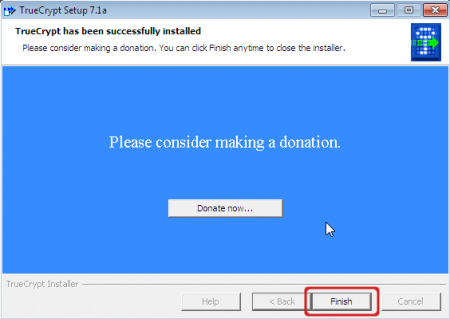
Truecrypt is open source software. If you like Truecrypt you can support the project and make a donation. A donation will help the Truecrypt project with hosting and other costs.
Encrypt the Windows system with Truecrypt
If Truecrypt is installed, you can start the encryption process. Please make a backup if you have data on your disk. Truecrypt needs to create a recovery CD, so you need a blank CD. This CD is really important in case the bootloader gets corrupt and you have to restore it.
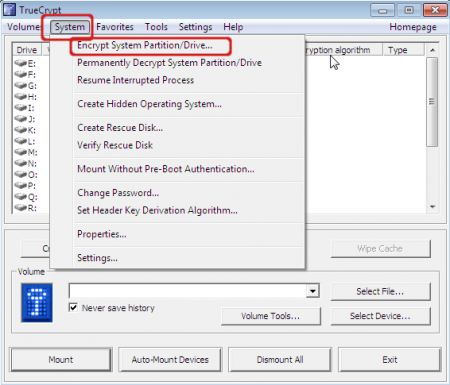
Start Truecrypt and select ‘Encrypt System Partition/Drive…’ in the ‘System’ menu.
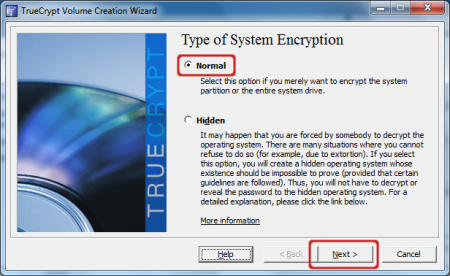
We will just encrypt a normal system partition and won’t hide it. Select ‘Normal’ and click ‘Next’.
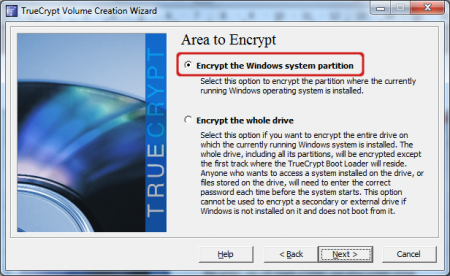
You have to choose if you will Encrypt the whole disk or just the System partition. Encrypting the whole disk makes it unavailable for other operating systems, so I choose to encrypt the Windows system partition only. Select that option and click ‘Next’.
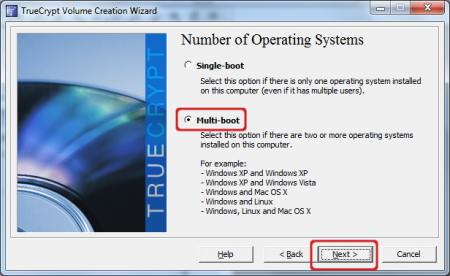
To enable the dualboot functionality select ‘Multi-boot’ and click ‘Next’.
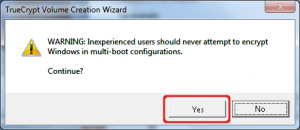
Truecrypt warns that multiboot configurations can be hard to understand and advises inexperienced users not to use this option. That’s one of the reasons blog’s like this exists…
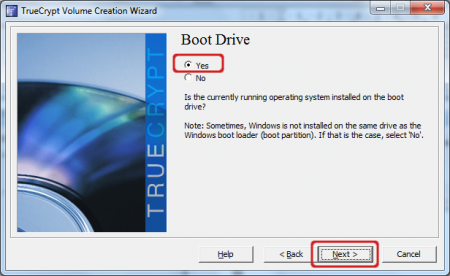
Confirm that you are working from the boot drive. Select ‘Yes’ and click ‘Next’.
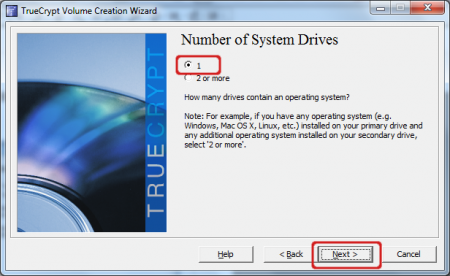
Confirm that there is only 1 harddrive in your system. (assuming you have only one physical drive)
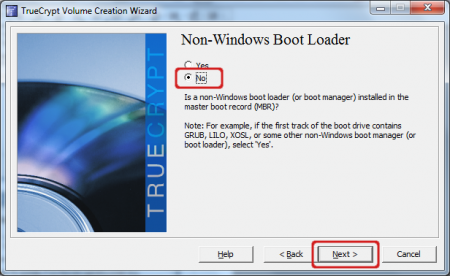
Truecrypt must be the main bootloader. Even though Ubuntu or Grub is installed, select No. You can fix the Ubuntu boot loader later, see the ‘Tips and troubleshooting’ part. Select ‘No’ and click ‘Next’.
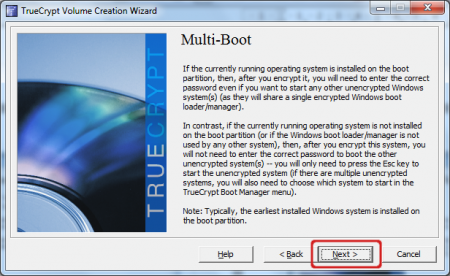
This Window gives some instructions about the multi-boot operation. Click the image if you like to read it, but it’s described on this page too. Click ‘Next’ to continue.
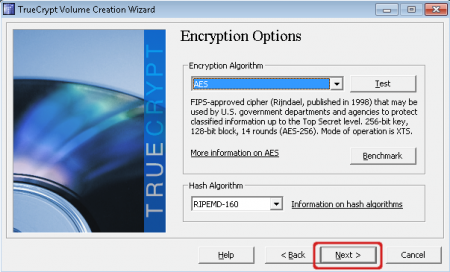
You can change the encryption algorithms here if you like. AES encryption and RIPEMD-160 hashing are fine to me. Click ‘Next’.
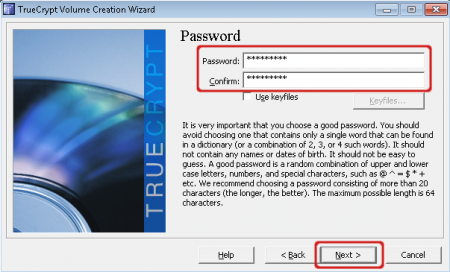
Invent a password. The stronger the better. You can also use a passphrase like a sentence for stronger security. Most special characters are accepted. Note that keyfiles are not supported for system encryption, so leave this field blank. Click ‘Next’ to continue.
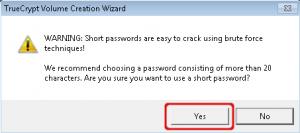
You will be warned when using a short password. If that’s Ok with you click ‘Yes’. Click ‘No’ to choose a new password. Note that shorter passwords are usually easier to crack.
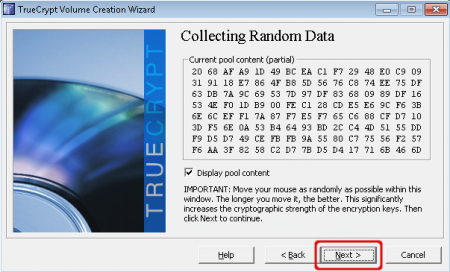
Security keys are generated with random data which increases security. You are requested to add random data by mouse movements inside this window. Click ‘Next’ just before your arm falls off.
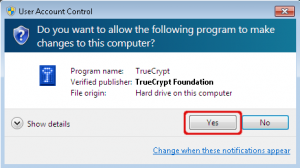
User Account Control will request you to confirm that Truecrypt makes changes to your system. Click ‘Yes’ to accept this.
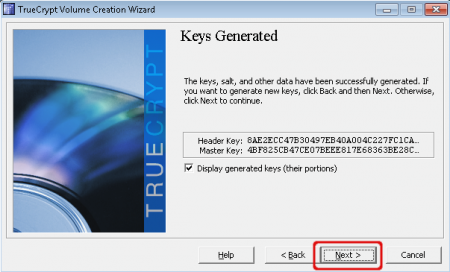
The keys are generated. Click ‘Next’ to continue.
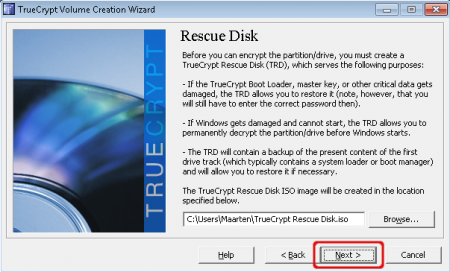
Truecrypt will create a rescue disk. This is useful when the bootloader is damaged. The rescue disk is an iso9660 image file which is recognized by most CD/DVD burning software. Mind the location where the image file is stored, usually under the documents folder. (note that I changed it back to my home folder in the screenshot)
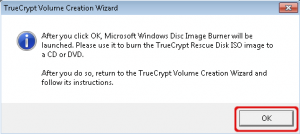
In Windows 7 the ‘Microsoft Windows Disc Image Burner’ will be started to burn the imagefile to a CD. Remind that you insert a blank CD, label it as your Truecrypt rescue CD and store it safely. When using older a Windows version you have to burn the image with other software to the CD. If you are looking for free open source CD burning software without adware take a look at InfraRecorder or take a look at other open source burning software on Wikipedia.
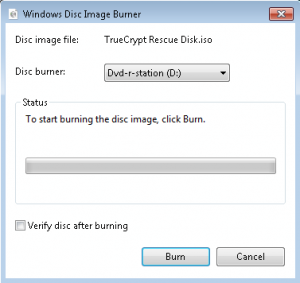
In Windows 7, click ‘Burn’ to create the rescue CD. Close this window when the CD is successfully created.
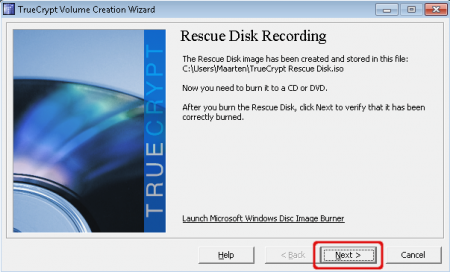
The window showing that the image file is created is still open. Next step is to verify the content of the rescue CD. Click ‘Next’.
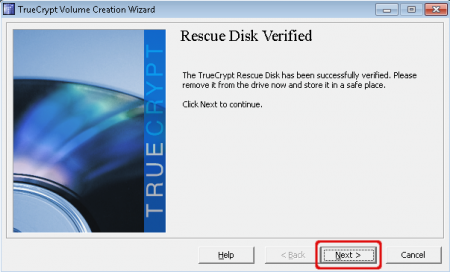
This window will appear when the image has successfully verified. Click ‘Next’ to continue.
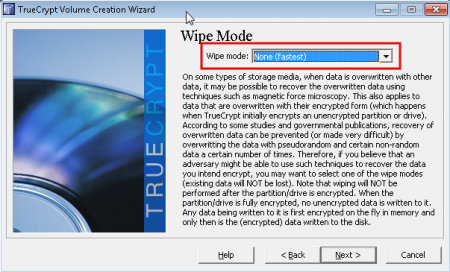
For extra security you can choose to overwrite files that are deleted. Data left after a file deletion is still encrypted, but can be overwritten for extra safety. This slows down your system and not required under normal conditions. Click ‘Next’ to continue.
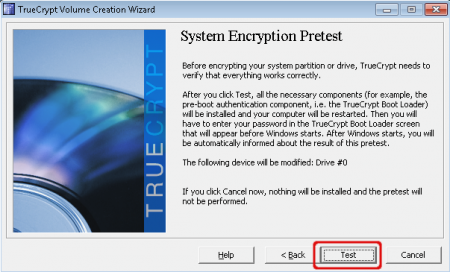
All configuration settings are finished now. Truecrypt is almost ready for encryption. When hitting the ‘Test’ button it will install a new bootloader in the master boot record and reboot the system. The reference ‘Test’ is somehow mistaken because real changes are made to your system. It is named ‘Test’ because encryption will be applied when the bootloader has once started successfully. Press ‘Test’ when you’re ready to hit the road.
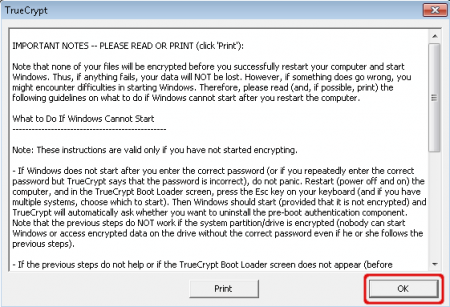
Truecrypt warns that a reboot must be done first before the encryption process starts. The window gives some information when you experience problems rebooting your system. Click ‘OK’ to continue.
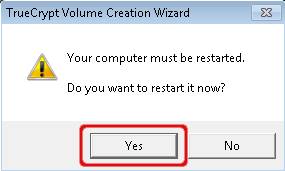
Confirm that you want to restart your system. Close all applications and click ‘Yes’.
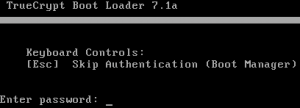
The reboot takes place. You are requested to enter the password and hit enter. This is the password you entered for encryption, not your Windows password. Windows will start next.
Note: When you have problems with the password (for example a typo), hit the ‘Esc’ key. Currently the system is not yet encrypted and you can start it without entering the correct password. When back in Windows Truecrypt automatically asks you to uninstall the pre-boot authentication and restore your old bootloader. Encryption is canceled.
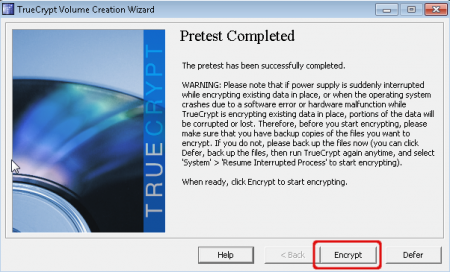
The pretest is successfully passed. Next step is to start encryption the encryption process. Click ‘Encrypt’.
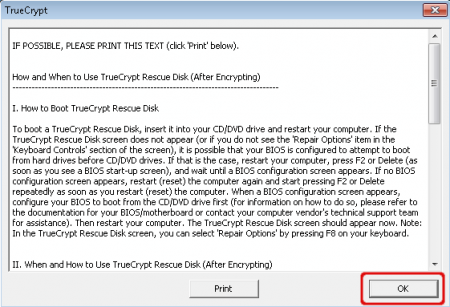
Truecrypt gives you some information about the rescue disk. Click ‘OK’.
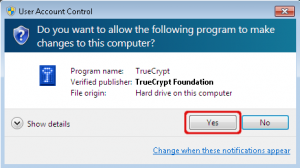
User Account Control will popup again. Click ‘Yes’ to allow Truecrypt to make changes to your harddrive.
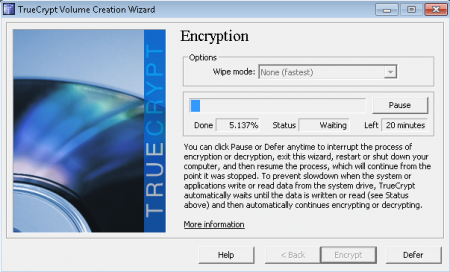
Now the encryption has started. There is no need to wait for completion, you can reboot or shutdown if you want. After a reboot it will resume the encryption process.
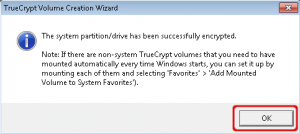
When the encryption is finished, click ‘OK’.
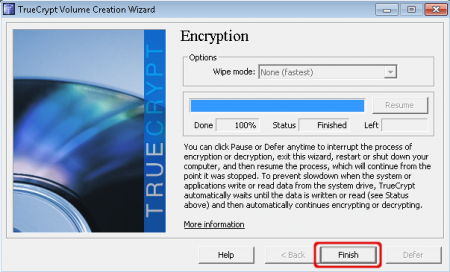
Click ‘Finish’ to close the encryption wizard.
Windows with Truecrypt ready for use
Windows is now securely encrypted! When booting your system the Truecrypt pre-boot authentication takes place.

Enter your password for encryption and hit enter to start Windows.
Windows will continue it’s booting process.

Leave a Reply